Job Permit Application
note
Before you begin, please ensure you are logged in to WorkFx. If you need help, see the WorkFx login guide.
Overview
This guide covers the steps to submit and manage a job permit application in the E-Permit system.
Steps
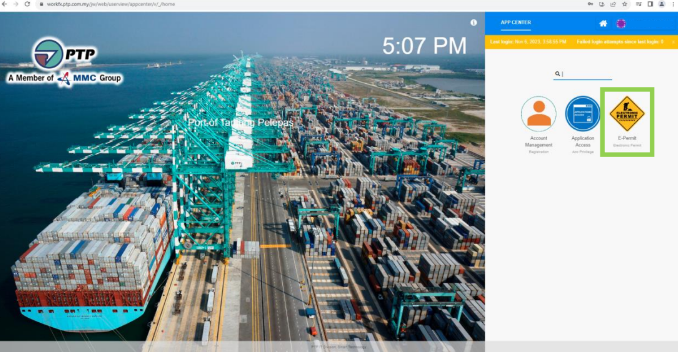
1: Open the E-Permit Portal
- Open the E-Permit portal from the WorkFx home page.
2: Access Permit Application
- Access the permit application area from the main menu.
- Click the yellow coloured permit application icon.
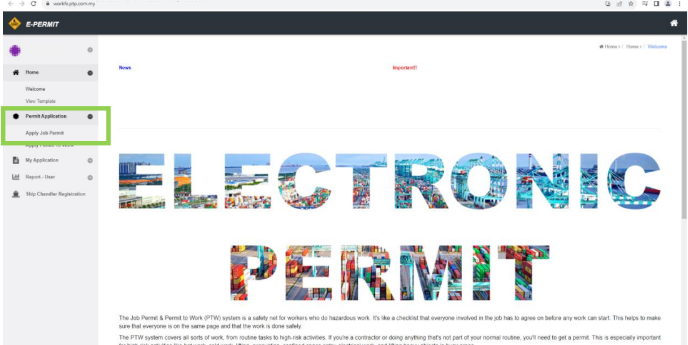
3: Select Apply Job Permit
- Click
Apply Job PermitunderPermit Applicationin the left menu.
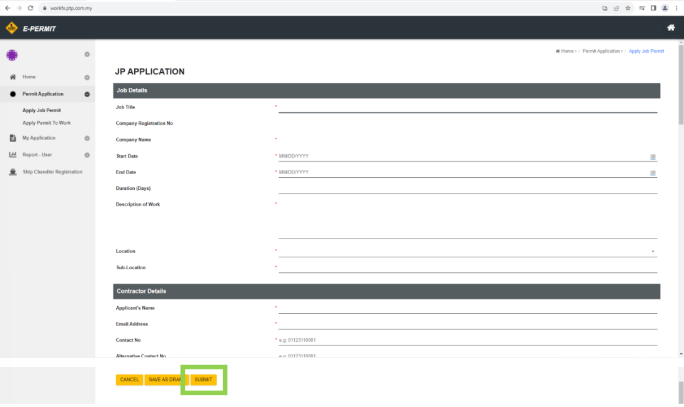
4: Complete the JP Application Form
- Fill out the Job Permit Application form.
- Click the button at the bottom of the page to continue.
note
- Any field marked with
*is mandatory and requires input.- For Ship Chandelling work, the Job Owner should be
Ops Shift Manager Teamand the Area Owner should beOps Shift Executive Team.
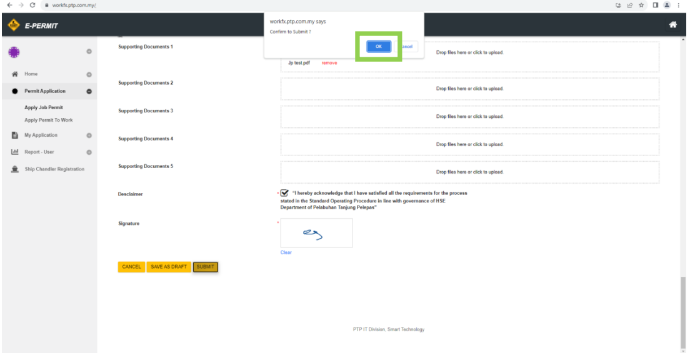
5: Confirm Submission / Save Draft
- Submit
- Save As Draft
- Click the confirmation button on the dialog box.
- Wait for the next page to load completely.
- Click the save as draft button on the dialog box.
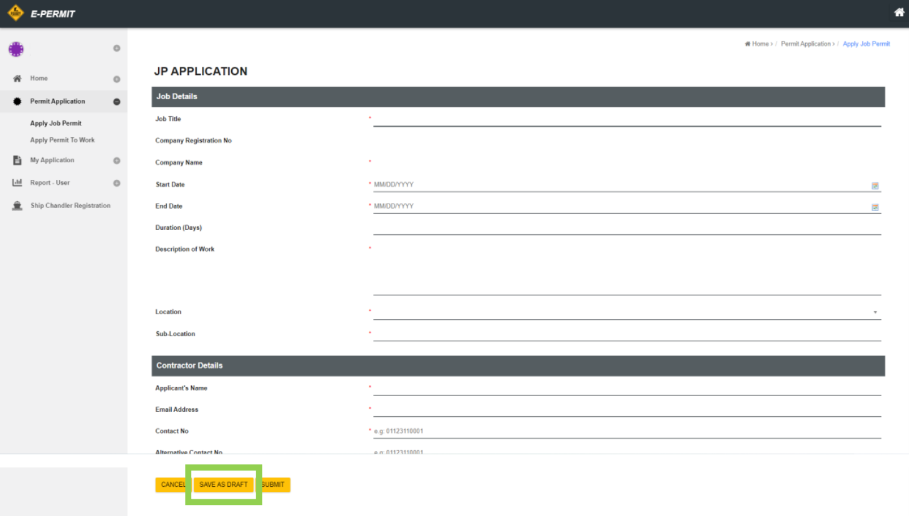
6: Confirm on Dialog Box
- Click the button on the dialog box.
- Wait for the next page to load.

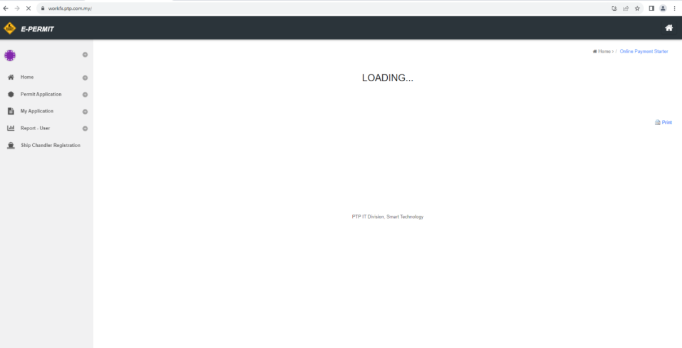
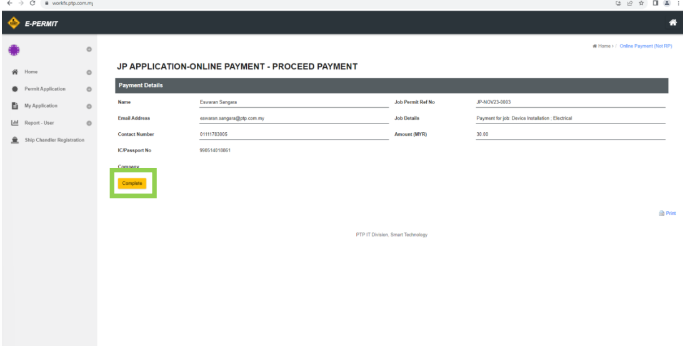
7: Proceed with Online Payment
- Click the button to continue to online payment.
8: Choose Payment Method
- Select a payment method.
- Choose your bank.
- Tick the Terms and Conditions checkbox.
- Click the button to proceed with payment.
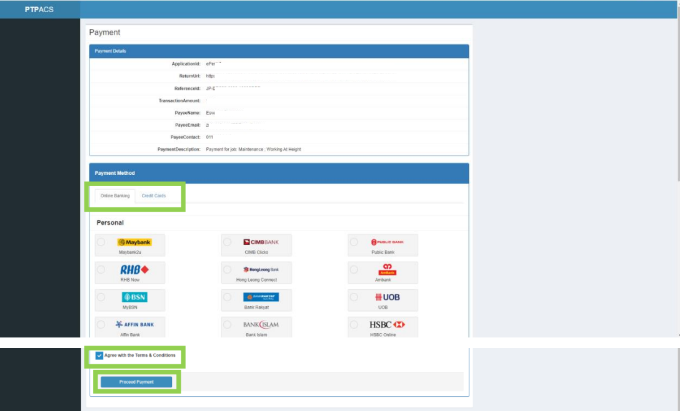
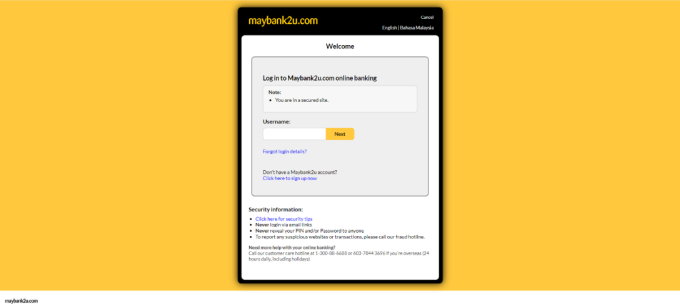
9: Redirect to Banking Site
- Click the button to redirect to the online banking site for the selected bank.

10: Complete Bank Login and Payment
- Log in to your online banking account.
- Complete the payment.
- Return to the merchant page.
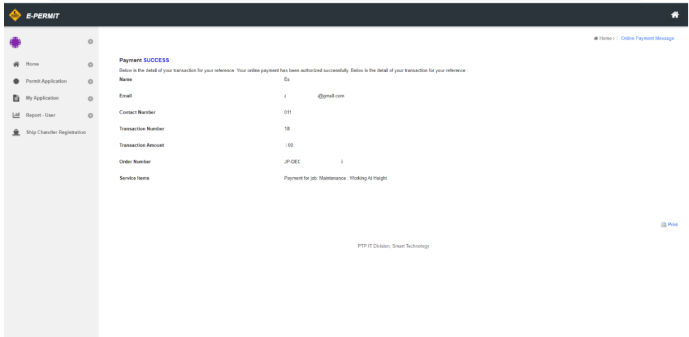
11: Review Payment Status
- The merchant page will show payment status and transaction details.
12: Retrieve Payment Receipt
- Check your email inbox.
- Retrieve the payment receipt from Razer and PTPACS.
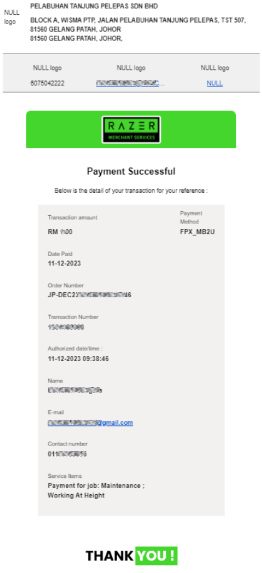
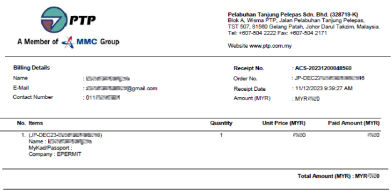
info
Above images are provided as examples only.
note
- Ensure all mandatory fields are filled.
- Check document formats and size limits before upload.
- Track application status through the dashboard.
Related Guides
- Permit To Work Application — Submit and manage Permit To Work applications.
- Monitor Submitted Permit Status — Track the status of submitted Job Permit and PTW applications.
- List of Action required in application — Review pending application actions and draft permits.
- Ship Chandelling Work Activity Access Request — Request Ship Chandelling work access.
- Permit To Work Close Out Inspection — Complete PTW close-out inspection.